
How to Make Polymer Clay Jewelry
Have you ever dreamed of making your own polymer clay jewelry? You may already know what type of jewelry and what designs you would like to make. Creating your own wearable artwork is truly something to be proud of. Whether you already know what you would like to make, or plan to just go for it, making your own jewelry is so fun and simple you will wonder why you didn’t start sooner! Here are step-by-step instructions on how you can make your own polymer clay earrings.
To get started making your own polymer clay earrings you will need a few materials and tools.
Materials
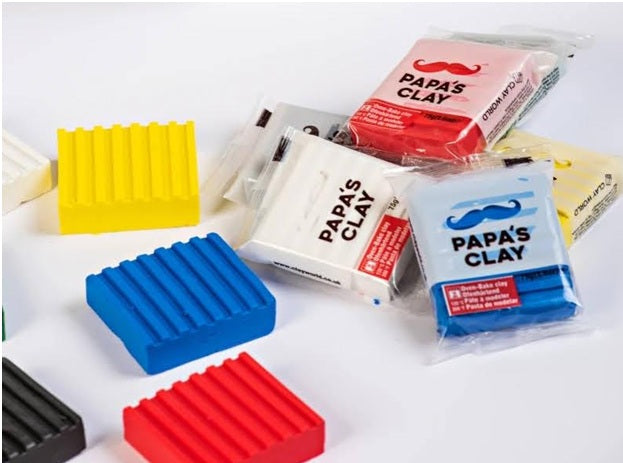
- Polymer Clay - In Desired Colors
- Jewelry Glue
- Earring Posts & Backs
- Jump Rings
- Parchment paper
- Flat baking sheet
- Painters tape
Tools
- Clay Rolling Pin or pasta machine
- X-Acto knife or clay slicer
- Clay shape cutters or cookie cutters
- Toothpick
Step 1: Prep Your Surface
When beginning the earring creation process, you will want a clean, hard, and flat surface to work on. This will ensure that no extra unwanted debris gets into your clay and also ensure that your clay is able to be easily shaped how you want it. A glass cutting mat, wooden or acrylic board, or kitchen counter is a great hard surface to craft your earrings on.
Once you decide what surface you will be working on, take a piece of parchment paper that is large enough to cover your work area and lay it down. Then, tape down the four corners of the parchment paper to your surface, so they do not move while you are working with the clay.
Step 2: Condition Your Clay
Your clay needs to be kneaded for a little while until it is warmed up enough by your hands to be workable. Place the clay on your parchment paper, be sure to only work with one color at a time, starting with your lightest color, to make sure the colors do not bleed into each other, then begin kneading your clay. You will know when your clay is workable when you can easily roll it into a snake-like shape and bend and shape it without it cracking.
If you have other colors to condition, wash your hands and make sure no trace of the previous color clay is left on the parchment paper. If there is, replace the parchment paper and begin kneading your other color. Repeat this process for as many colors as you plan to use.
Step 3: Roll Out Your Clay
When you have finished conditioning your clay, place your clay on the parchment paper and begin rolling out the clay with a rolling pin or put it in your pasta machine. If you do not have a rolling pin or pasta machine, a straight round drinking glass can also work. Roll out your clay until it is all a uniform thickness of about ¼ inch. If you are using other colors, roll them out next to your first color making sure not to let them mix.
Step 4: Cut Out Your Shapes
Using clay shape cutters or small cookie cutters, begin cutting the shapes you want your earrings to be out of the clay. As you cut out your shapes be careful to not get your fingerprints in the clay. It can be tricky, but using a tool to help guide the clay out of the cutter can be helpful.
If you would like to be a bit more creative, you can use an x-acto knife or a clay slicer to create your own shapes for your earrings. If you would like to be a bit more precise, you can create a template yourself out of cardboard or parchment paper and place it on top of the clay then trace around the template with your x-acto to get a perfect shape.
Step 5: Make Holes in Clay
After you cut out your desired shapes you need to poke holes in your shapes so you can add jump rings after they bake. Jump rings allow you to make dangly earrings. Using your toothpick, simply poke a hole in the bottom of the top piece, that will work as the stud, and the top of the bottom piece that will dangle. These two pieces will be connected by a jump ring.
If you would just like to make studded earrings, skip this step altogether as you will not need a jump ring or a hole in your earrings.
Step 6: Bake the Clay
Once you are ready to bake, lay your pieces of clay on parchment paper and place them on a flat baking sheet. If you already used parchment paper to cut your pieces on, simply transfer the paper onto the baking sheet, but be sure to remove any scraps of clay you do not want baked. Then, just bake the clay at the specifications on the package directions!
Step 7: Add Jump Rings and Jewelry Backs
Once the clay is done baking, make sure to let the pieces cool before attempting to handle them. Once the clay is cool, you can begin connecting any dangly earrings you made using the jump rings. Then, using the jewelry glue, glue the posts to the back of the stud earrings. After letting the glue dry, add the earring backs and your earrings are ready to wear. Congratulations you just made your first piece of polymer clay jewelry!